


Once we decided how much we disliked the cabinet color, we jumped right into painting those suckers. I had the perfect picture in my head. I knew that I didn't want white cabinets. There are so many cabinets in this kitchen that I felt like there would be way too much white. I saw a commercial on HGTV that had gray kitchen cabinets. This was my vision. Light gray kitchen cabinets, white/light countertops, colorful backsplash, and eventually, dark wood floors throughout.
But before we could actually get to the fun part of choosing paint colors and what not, we had to go in and do the dirty work. First, we hung a plastic sheet to close off the kitchen to keep the dust mess to a minimum.


Then we took off all the doors. And when I say we, I really mean Brandon. He did such a great job, and luckily his drill didn't die until the very last cabinet door.

Once all the doors were off, we Brandon could get those suckers sanded. Brandon used a palm orbital sander and 80 grit sand paper. Brandon thinks he looks a bit silly in this picture, but I sweetly assured him that he looks like he's showing those cabinets whose boss! :)

So, once Brandon actually got to work (instead of posing for the camera), the cabinets looked great and sanded, but unfortunately, we had a huge mess.


This is actually how much dust was produced just from sanding the cabinet boxes. This was the note I found when I went in to look at the progress a few hours later. Can you say awww?
Once everything was sanded, my mom and I jumped right in and started priming. I chose Valspar Bonding Primer. I bought two gallons and I may not even need both of them. Beware that it is a little thick, but it goes on really well, and it covered the fire engine red nicely. Of course, we did do two coats to make sure that it covered everything.

You can tell that I am really working hard, because my hand is blurry. Unfortunately, I got no picture of my mom priming. :( I think I was just in the zone. I learned a valuable lesson while working on this project. I was completely unrealistic about how much time I thought this would take. I seriously went into this thinking that I could get everything primed in a day. Yeah, right. This took us about four days. We had bead board in some places and that meant extra time with the paint brush. Unfortunately, this caused our paint roller to get a little jealous. But we did eventually complete the priming portion of the work.


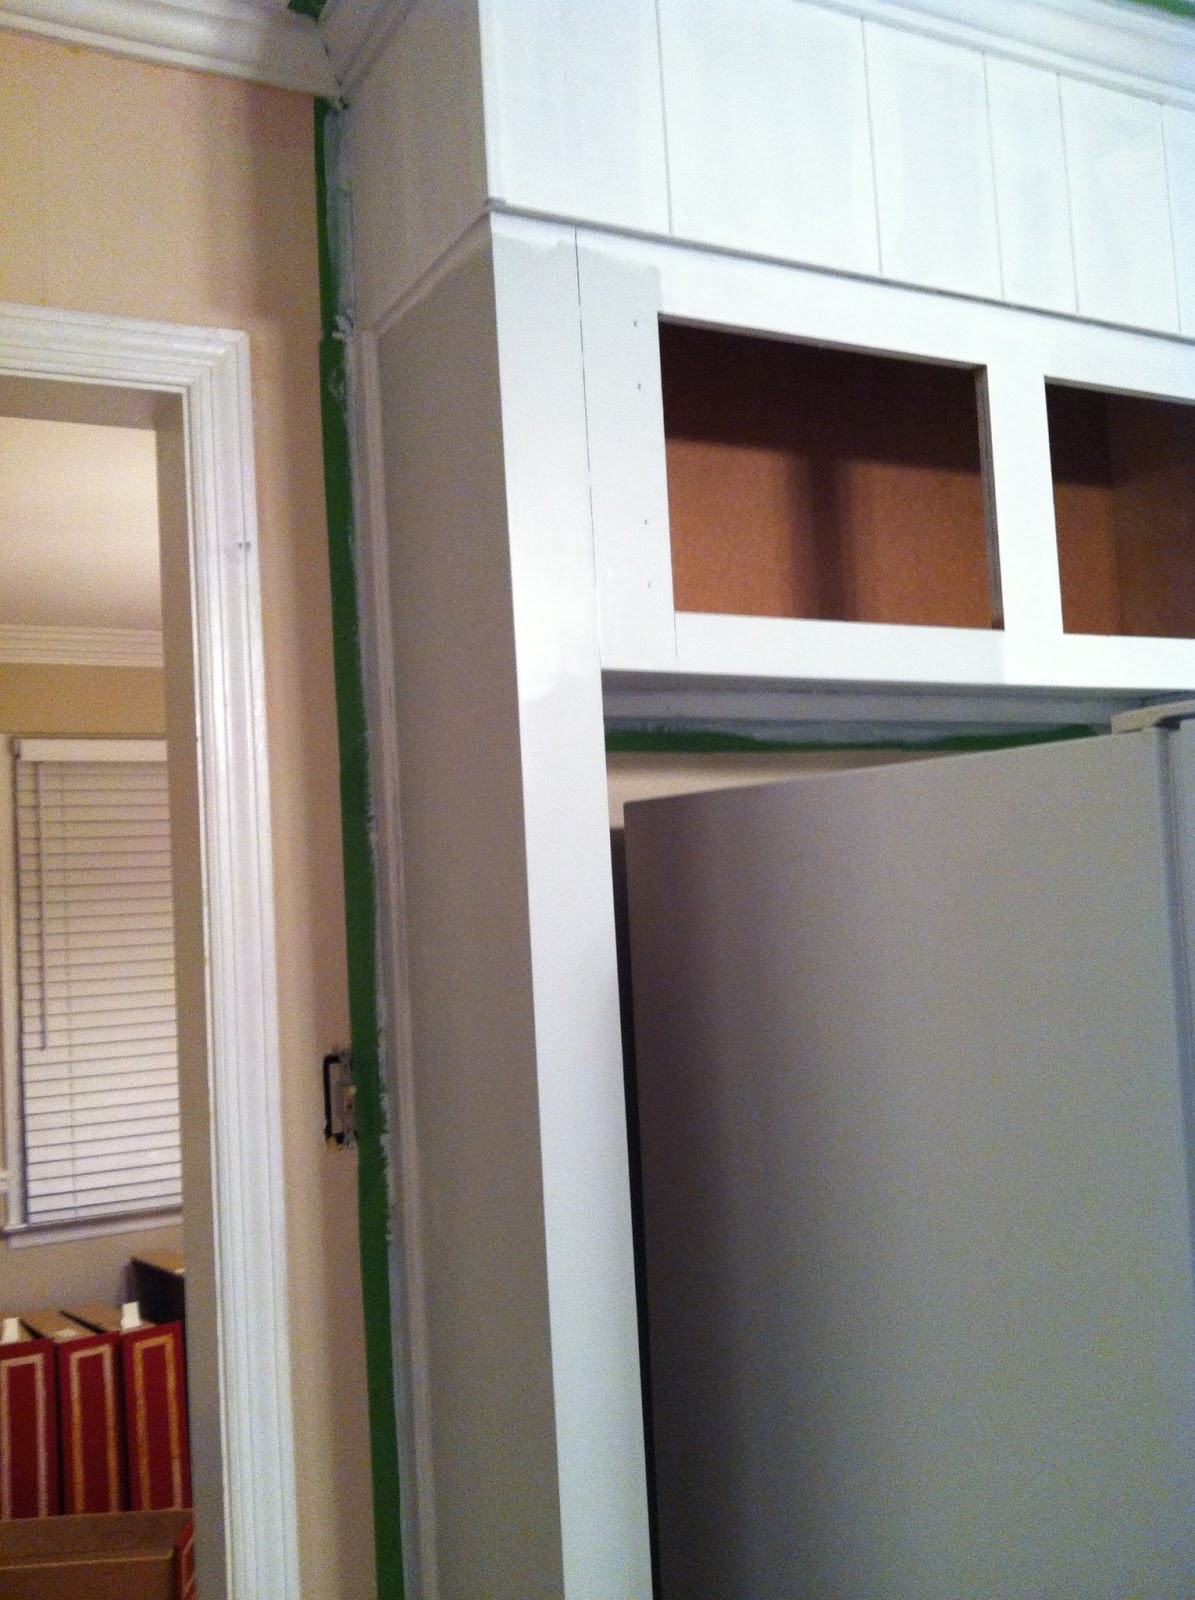
Wow!! Looks a million times better already. (Don't mind the detached vent hood in the photo above. I didn't actually break it; I just took it down to paint the sides.)
Once we finished priming, it was finally time to go to Ace Hardware and actually choose paint chips. This was sooo much harder than I thought. Once you've gotten used to living in white apartments for so long, choosing a paint color is a giant task. I know the guy at the paint counter probably thought I was crazy, and I'm sure my mom was equally frustrated. I just couldn't decide. It was too much pressure. I finally decided on Gray Harbor and Stonington Gray by Benjamin Moore.

Choosing our paint colors ended up being quite easy once I painted a door in each color and we could actually see what it looked like in our space. We ended up picking the one on the right, Stonington Gray. So I got to work painting the actual cabinet boxes.


Lots and lots of hard work has gone into this kitchen redo! It's going to look beautiful when you finish.
ReplyDelete